This post may contain affiliate links. If you use the link I receive a commission at no extra cost to you. Thank You!
Tips for Creating Your Blog Logo
Let’s just dive right into how I created my logo for my blog. I realize it isn’t anything fancy, but it was free the way I did it. If you are blogging on a budget you may need to start with a free DIY logo and then upgrade later if you desire to.
First off I used Canva. The basic Canva is free to use.
I would also like to start by saying you need to keep trying. You will get better with each new version. It is similar to creating blog post titles. Just keep going and get the creative juices flowing.
Do not take months to create your logo. Give yourself one hour. Work your butt off on Canva. Keep tweaking and creating different versions. Do not erase any versions. Just keep duplicating and altering.
After this one hour of work put the logo away. Come back a week later and see what you think. If you need to, dedicate another hour to perfecting your favorite version and getting it saved as your logo.
Coming back to work on it on a different day with fresh eyes can be very helpful.
Branding Colors
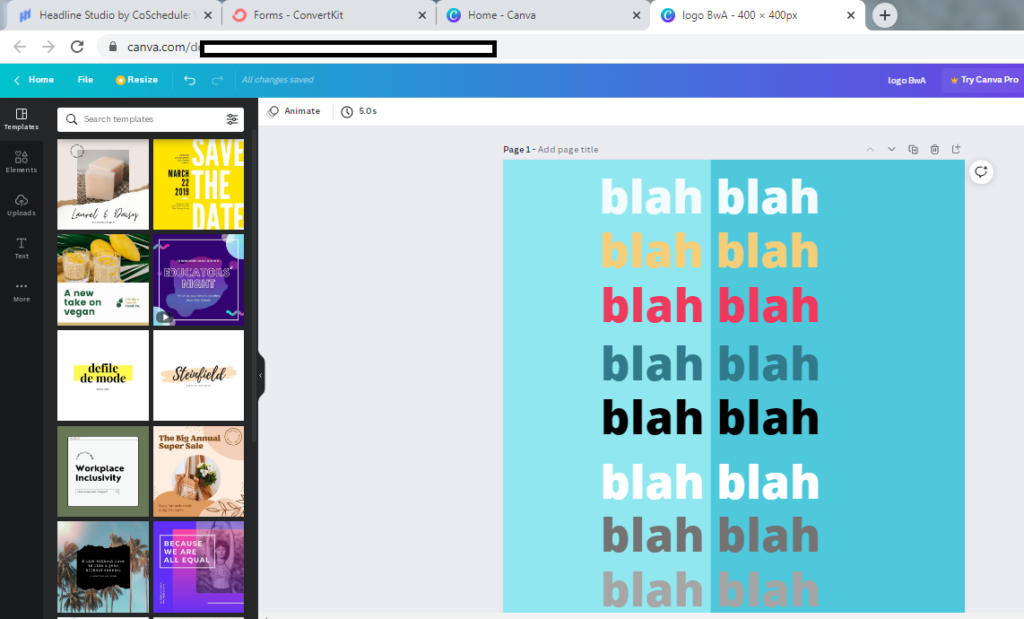
Before getting too far into the process consider your branding colors. I recommend you create something like the image below. Then you have all your colors handy when creating your logo. You may not keep all the colors you originally chose, but it is good to have those color codes available.
Logo Creation
Now it is time to start creating those logos. You can see the images before showing my progressions. My first version below seems very dated to me. I like something sleeker and streamline. I started working in that direction.
Play with your colors. Play with your fonts.
I made my logo at 400 x 400 px.
Not sure if this is best but that’s what I frequently saw recommended.
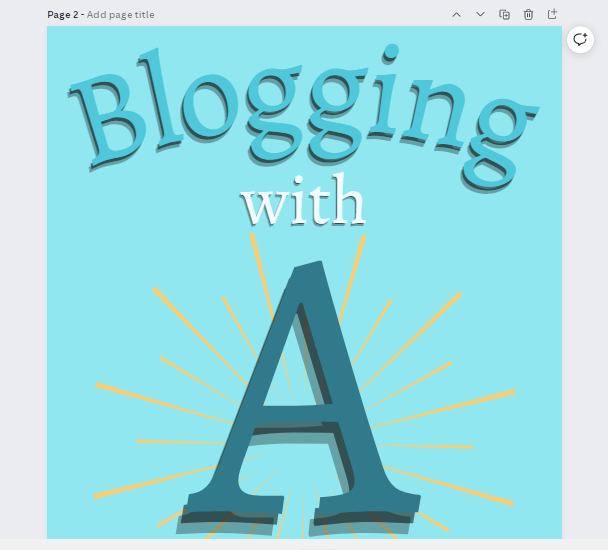
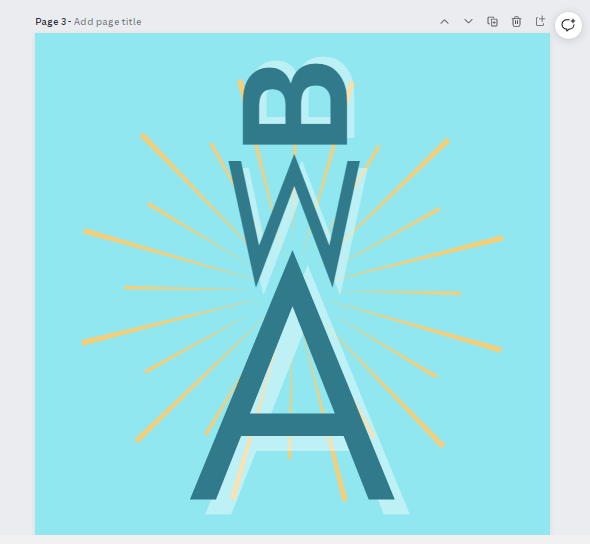
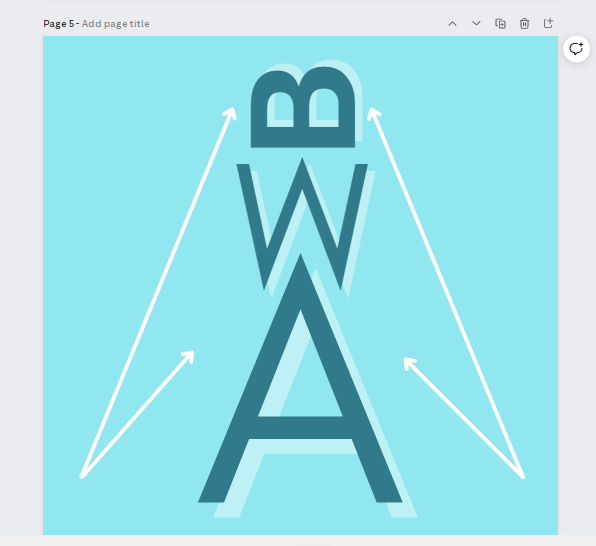
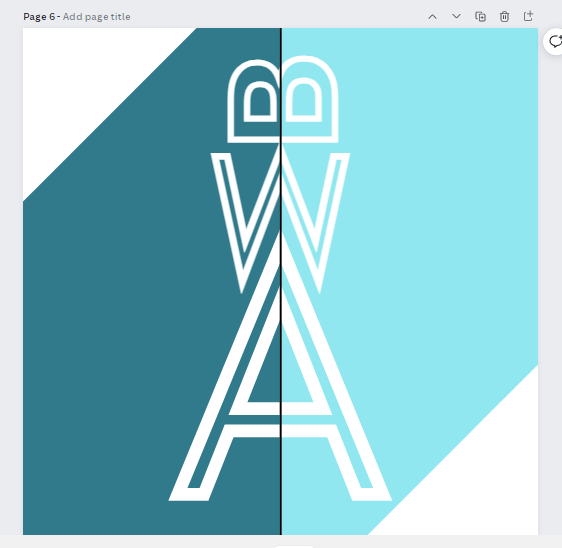
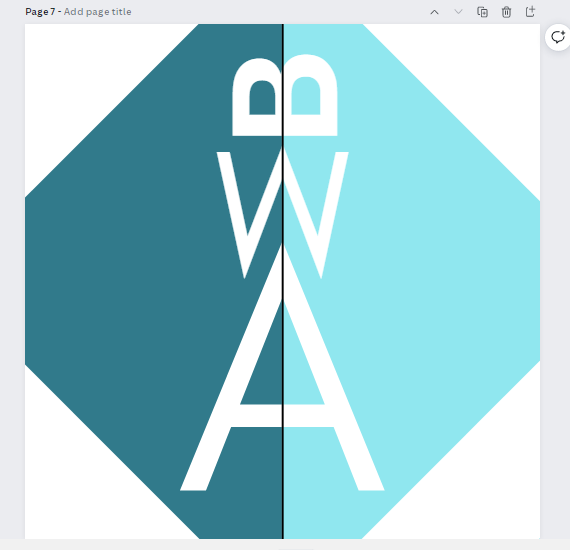
As you can see I just kept trying different things. I used very simple tools like lines and shapes.
Now pick you logo that you want to move forward with.
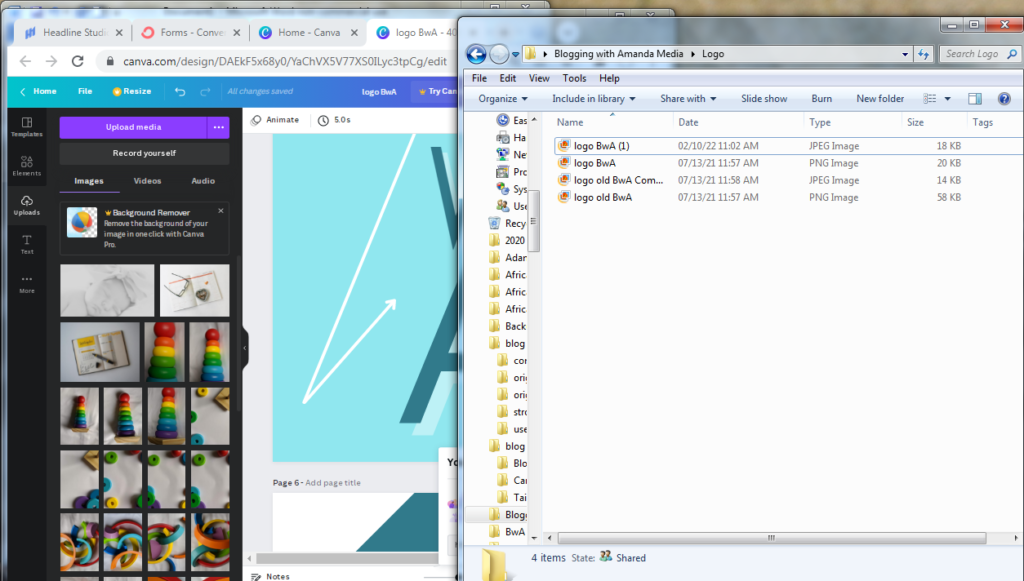
And let’s download it to a folder for later use. I decided to download it in different forms such as JPEG, PNG, and PDF.


Placing Your Logo on Your Blog
Now let’s jump over to WordPress.
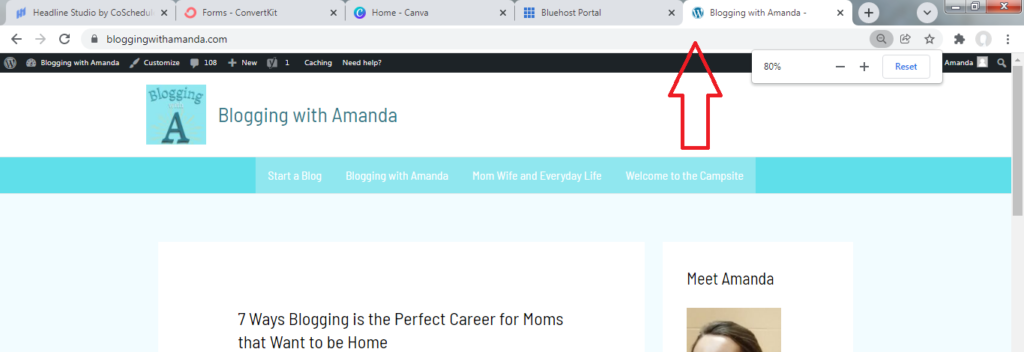
That first logo that I said I didn’t like was on my site for 8 months. I just couldn’t stand it anymore and wanted to jump on to change it.
I wish I wouldn’t have rushed to create it and get it on my site because now I am repeating all the steps and doubling my work
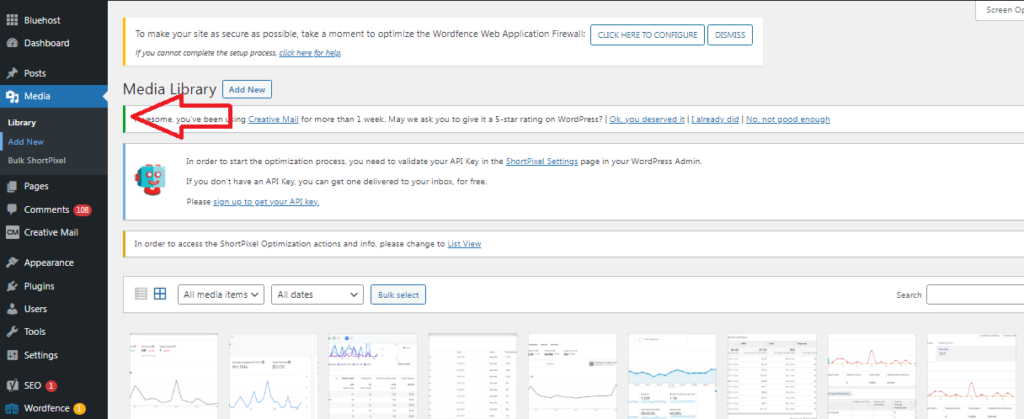
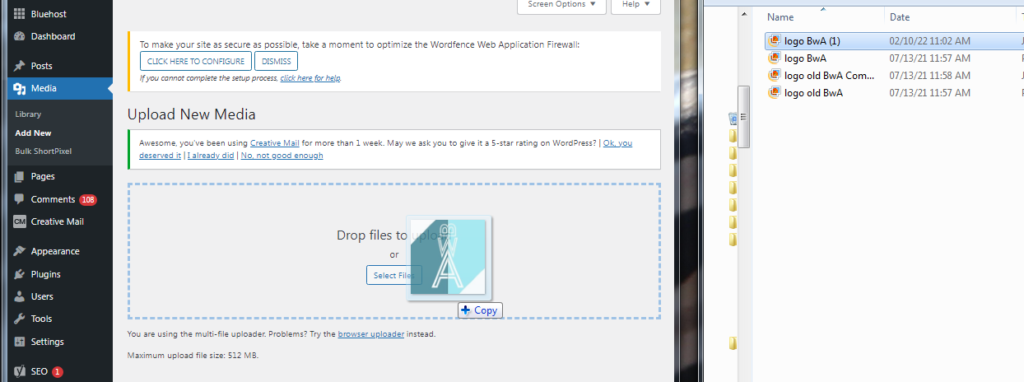
First, we need to add the image in the media tab in WordPress to have it available to place. Go to Media. Add New.
Below you can see me dragging it to download.
The theme on my website is Astra FYI. Yours may look different depending on your theme. Ideally, this will still give you some helpful steps along your journey to placing your logo.
In WordPress go to Appearance, Customize.
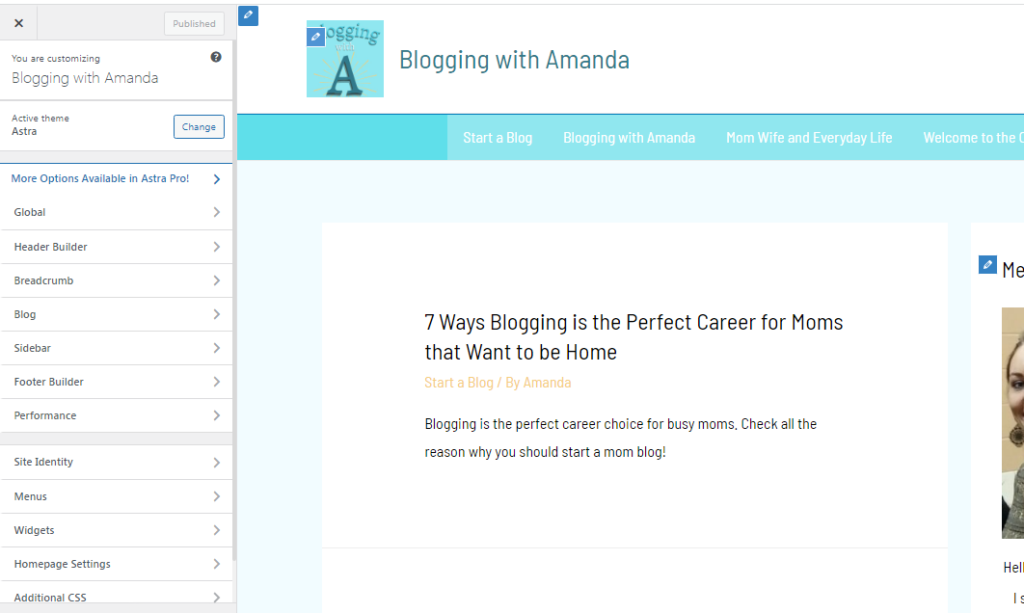
Here I am just hovering over my old logo and going to click the edit pencil. This is my simple way to change out the logo.
If you do not have a logo at all I believe this is where you need to go.
Click Header Builder.
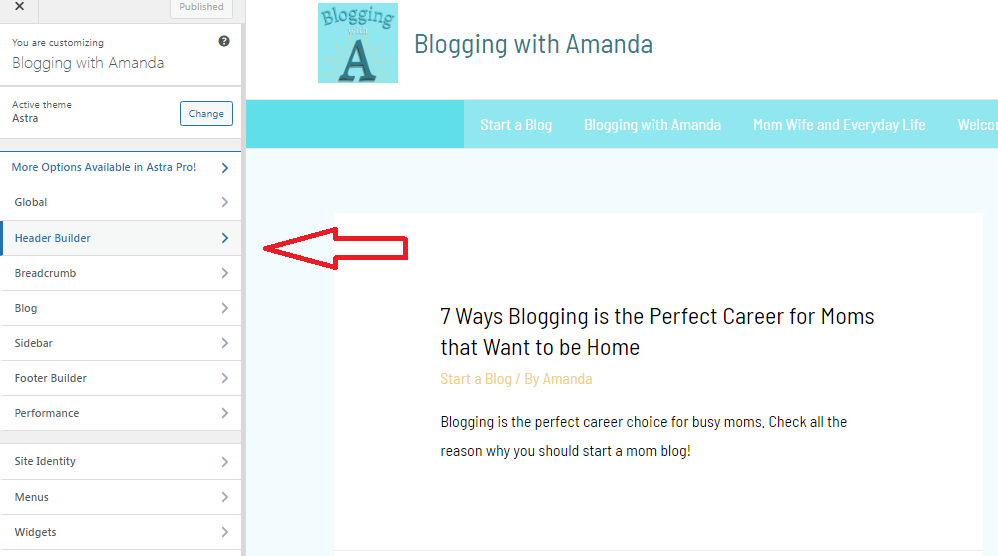
Look for Site Title and Logo.
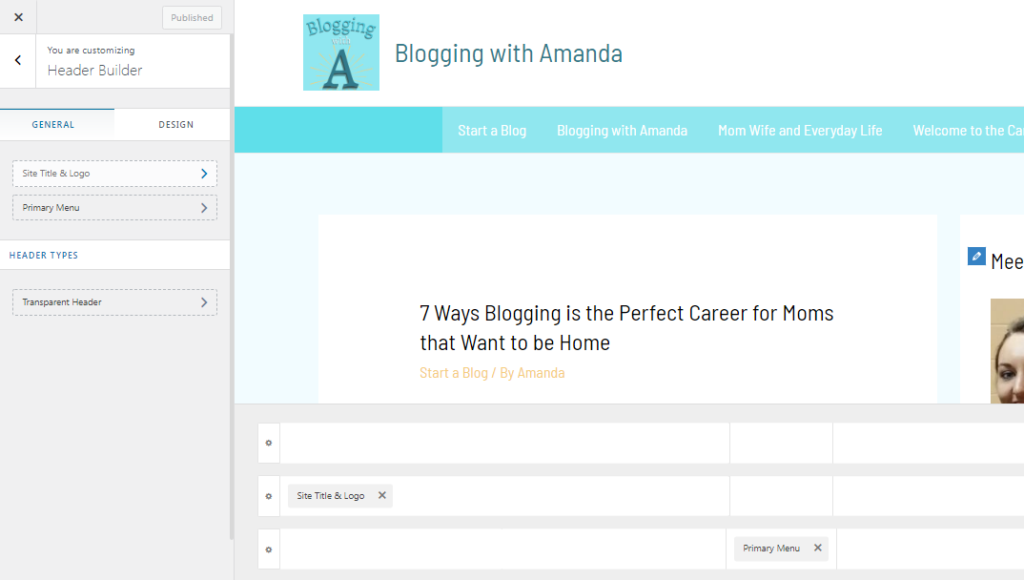
Let’s select a logo and it will take me to my media files
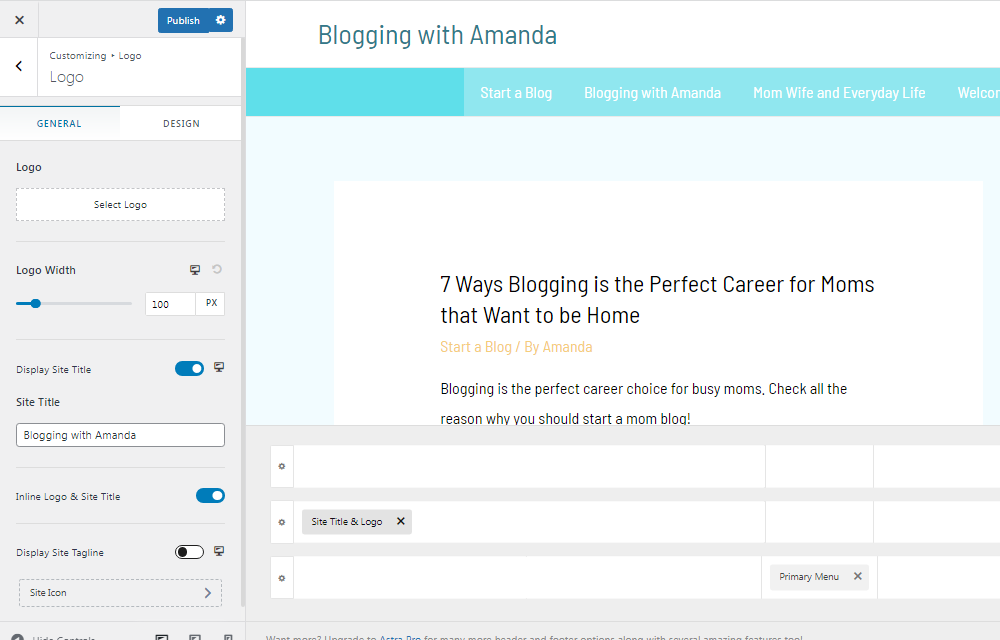
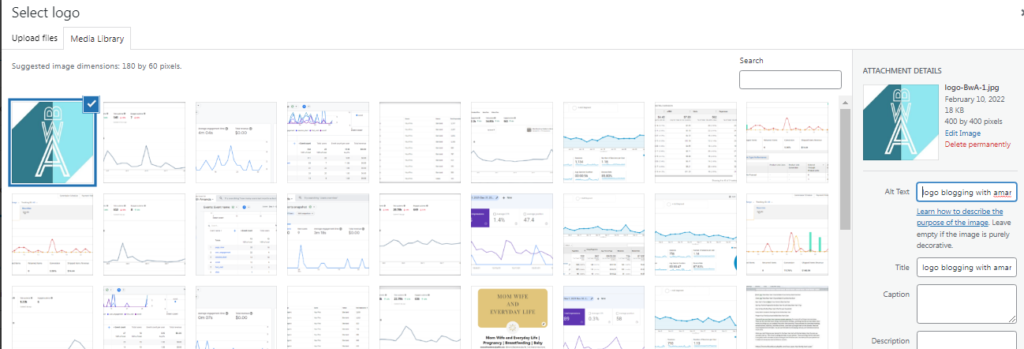
At this point I’ve selected my logo.
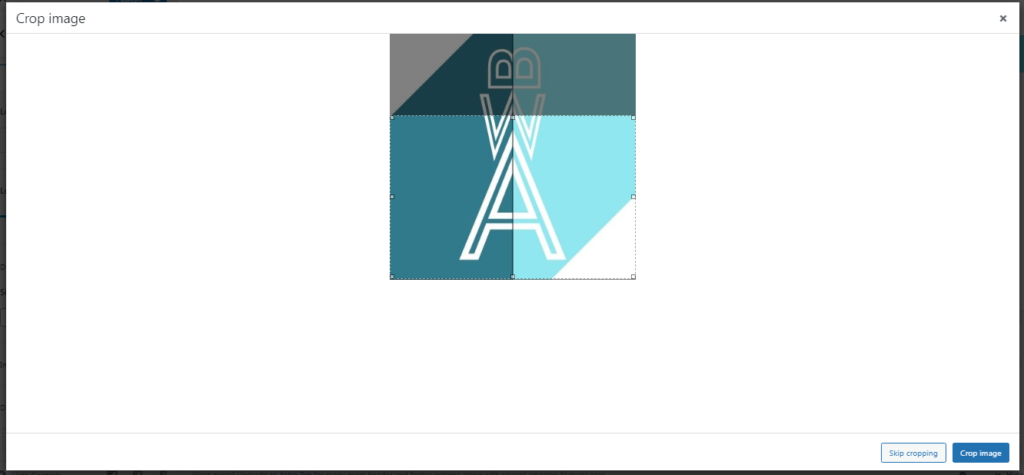
Now I cropped the image as needed.
Now let’s click publish and take a look. I recommend checking from WordPress but also from the perspective of a reader.
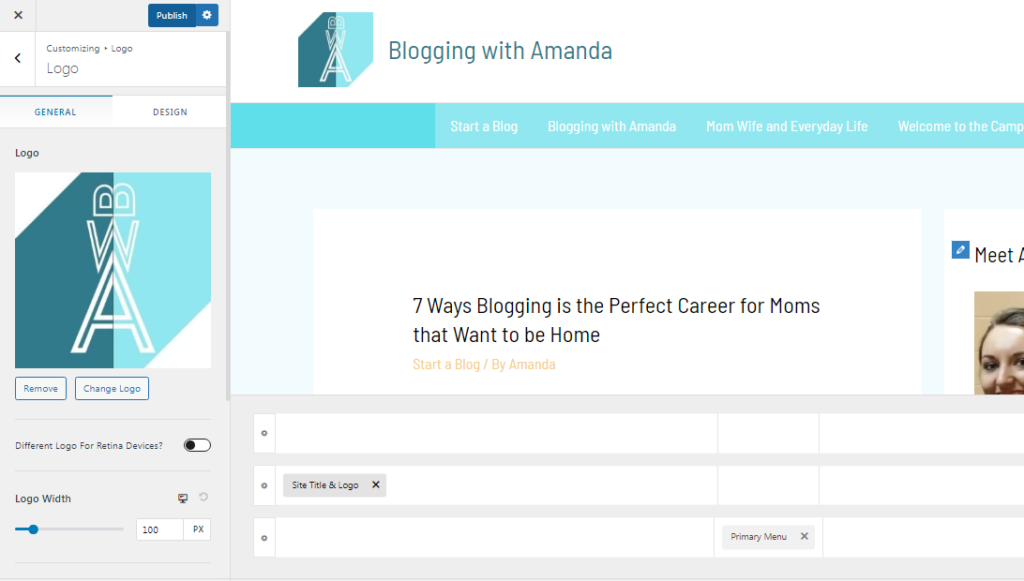
Do I think this logo is amazing or perfect…honestly not really, but my first logo just looked too cheesy. This one is at least sleek, simple, and streamlined…I guess. For now, it is going to work.
Conclusion
I hope this helped you in getting a free logo onto your WordPress website. Don’t spend too much time on it and don’t stress it. People should be reading your content, not studying your logo. The idea is to have the logo start creating that brand recognition through colors, fonts, and general styles.
Check Out My Articles
Claim Your Website with Pinterest Business Accounts in Only a Few Easy Steps
The Importance of a Favicon and How You Can Create One Today
